


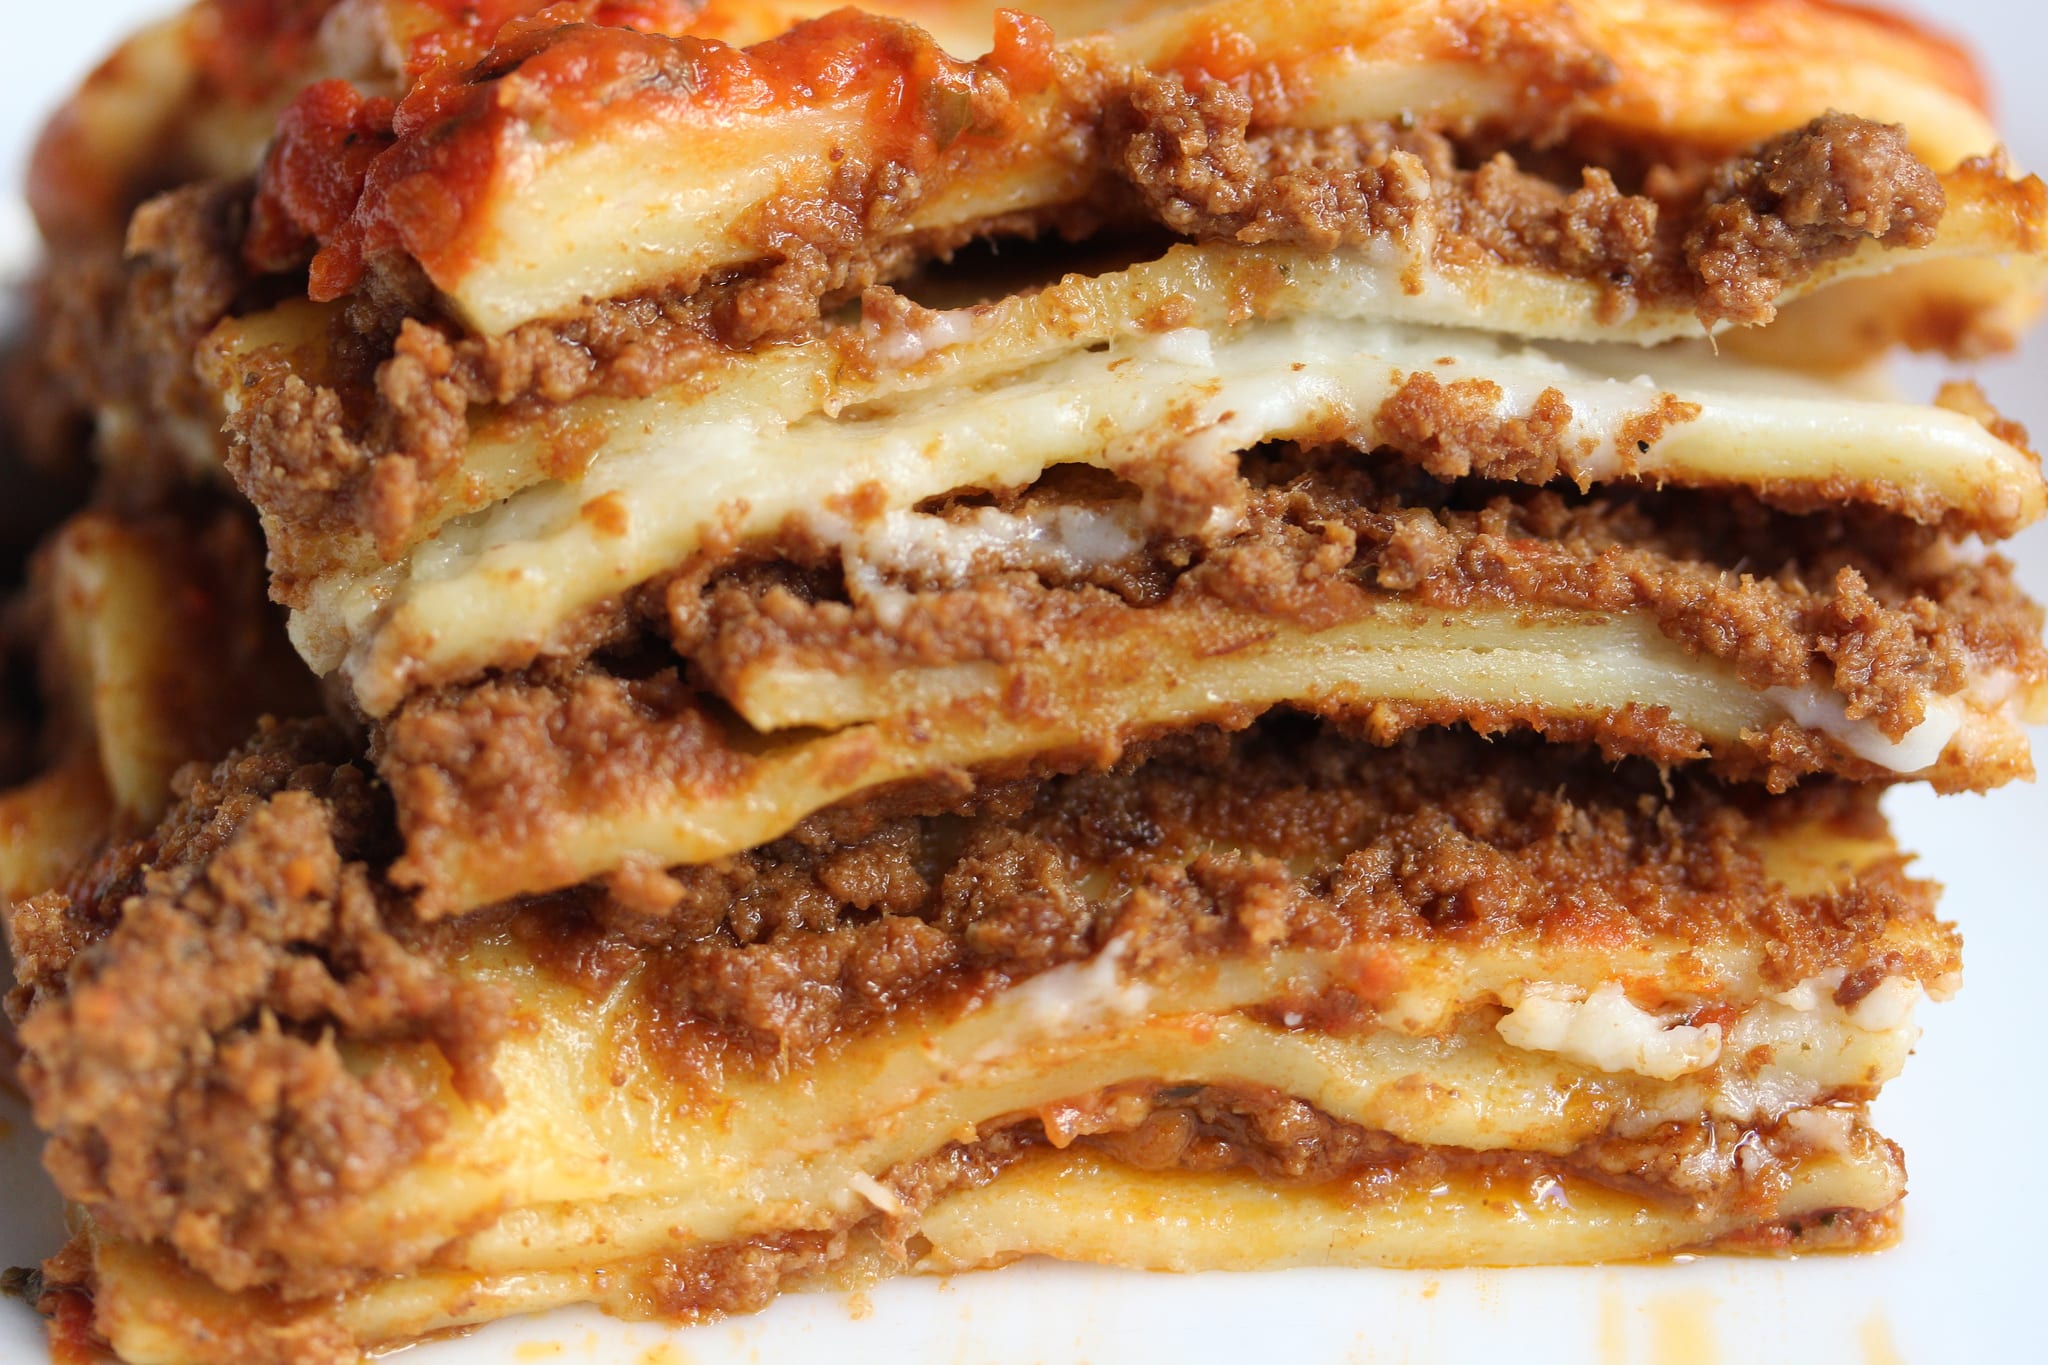
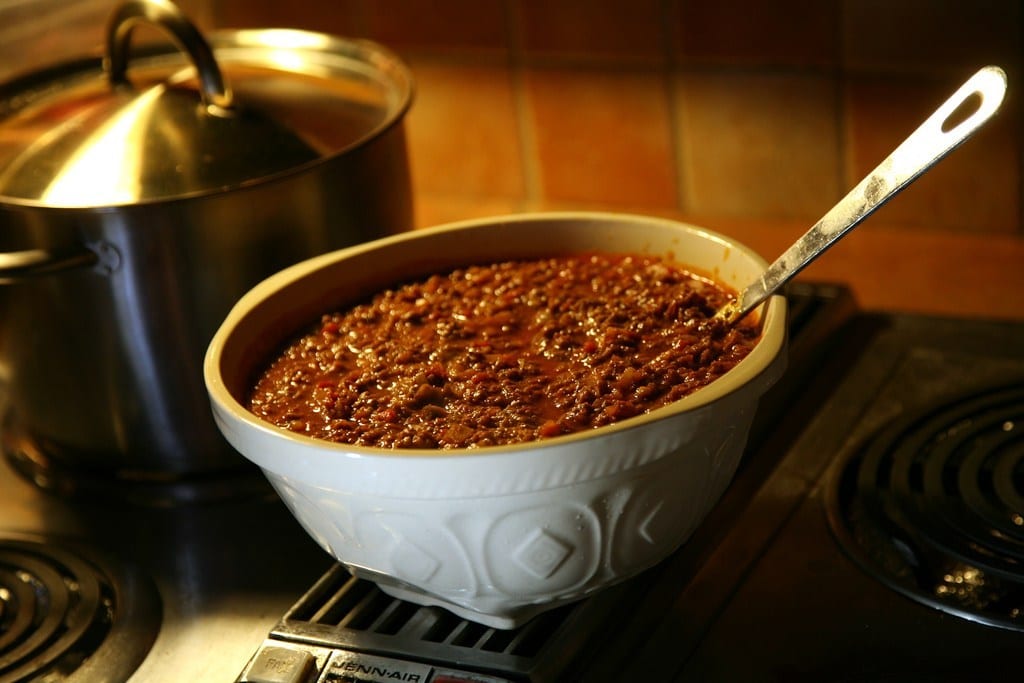
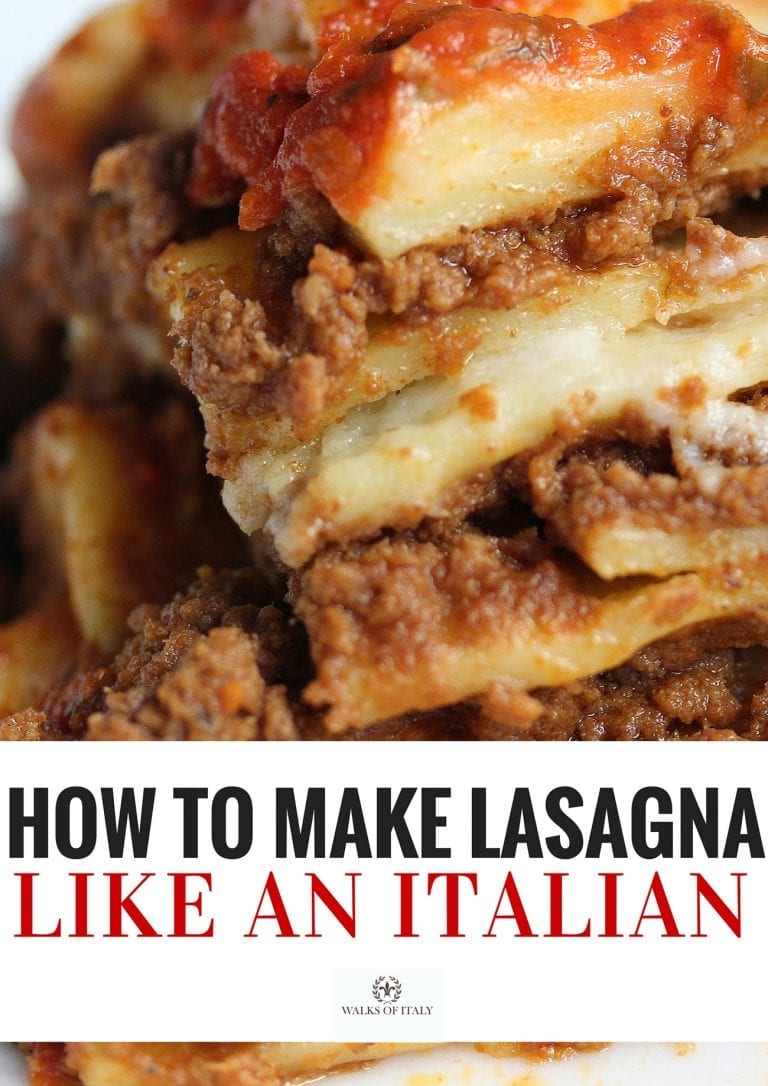
A properly-made lasagna is a dish of consummate beauty and one of the most beloved Italian food dishes in the world. But there is a big difference between authentic lasagna and the frozen stuff you buy at the store. Curious to discover the real magic behind an authentic Italian lasagna recipe?
We went straight to our resident Italian home cooking expert, Loredana, for a recipe. Her recipe for real Italian pizza is one of the most popular blog posts so we trust you’ll find this recipe just as useful. Any questions or comments – don’t hesitate to let us know in the comments section.
Before we get started…
A note on the origins of Italian lasagna and the use of dried pasta
Lasagna has many versions, both within Italy and around the world, but when we talk about “real” lasagna in Italy we mean “Lasagna alla Bolognese” i.e., from Bologna in the region of Emilia-Romagna. One of the traditional pasta shapes of this region is the long, flat strips that go into making the layers of lasagna. Although some Italians will buy these strips dried, it’s still quite common in Emilia-Romagna to make them at home, along with other regional specialties like tortellini.
Fresh sheets of egg pasta always taste better in lasagna than dried ones. Here in Italy we are lucky enough to even be able to buy high-quality, handmade pasta sheets fresh from the Pastificio or pasta shop. They are inexpensive and readily available, but this is rarely the case outside of Italy. If you can’t get fresh pasta, don’t worry: making pasta from scratch is really easy, and once you get the hang of it, you’ll find you can create fresh pasta quite quickly. If you simply don’t have the inclination or the time, dried pasta is also acceptable – just be aware that you are sacrificing taste and texture for convenience. Don’t worry, though: your secret is safe with us.
Ingredients
For the pasta sheets
for a casserole pan of 20cm x 30cm
- 400 grams Flour “0” *
- 4 eggs
- A cutting board or clean countertop for working the dough
For the Ragù
- 1 small carrot
- 1 white onion
- 1 small stalk of celery
- 2 tablespoons Extra Virgin olive oil
- 250 grams tomato sauce (no seasoned! Just tomato sauce)
- 500 grams minced beef
- 350 grams minced pork
- 1/2 glass of white wine
- salt
- ground pepper
And for the “besciamella” sauce
- 1 liter of milk
- 100 grams (7 tablespoons or a little less than 1/2 cup) of butter
- 80 grams (2/3 cup) all-purpose flour
- A tiny pinch of Nutmeg
- A pinch of salt
- A pinch of ground pepper
* In Italy, “0”, or “zero,” flour is a refined, white flour used for making pasta. It’s not as refined as “00” or “doppio zero” flour, but typically more refined than the white flour that is often found on store shelves outside of Italy. If you can’t get your hands on any 0 flour, your all-purpose white flour will work fine, but the consistency will be slightly different. Purists might turn their noses up, but we have no problem using the regular stuff if we have run out of “0”.
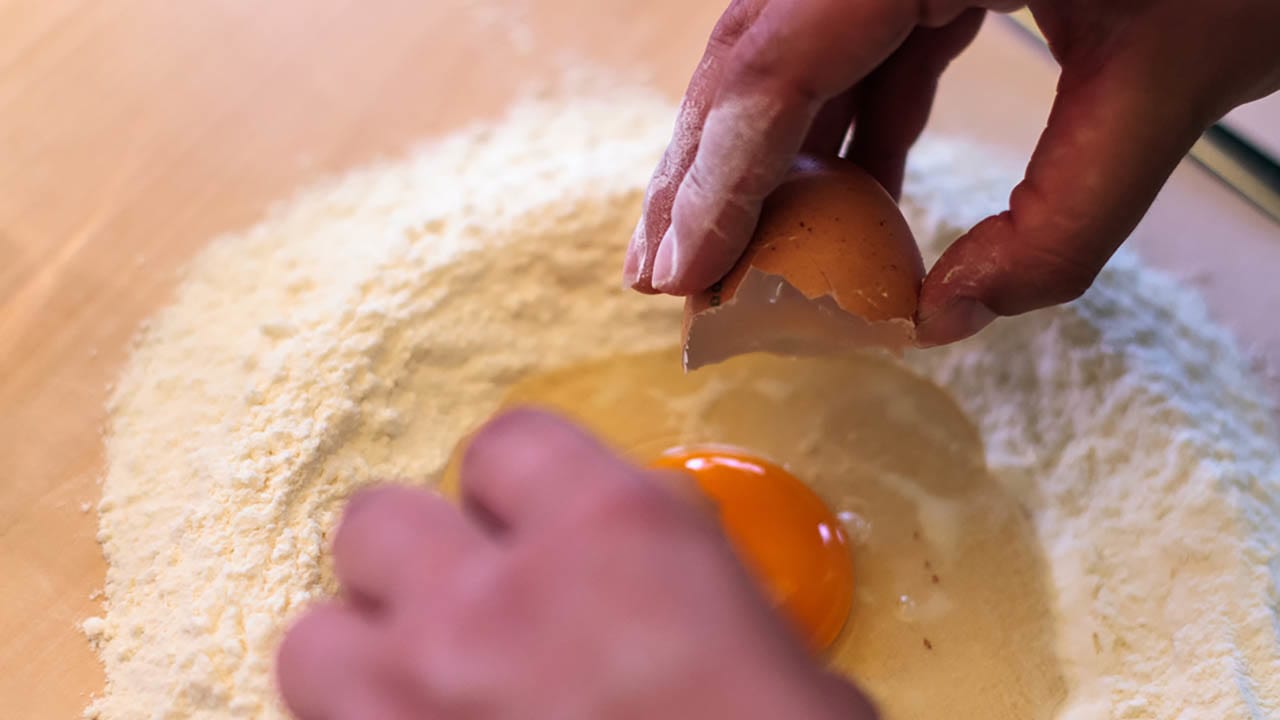
Crack the eggs into your little flour volcano!
1. Make your pasta sheets
- Place almost all of the flour on your cutting board (reserve 50 grams or so, a little more than 1/3 a cup) – wood is the best material to knead on, but plastic boards or even just your countertop are okay, too – and make a hollow in the center of our little pile so it looks like a flour volcano.
Chef’s Tip: Making pasta dough in a drafty room can cause it to dry out. try to choose a cool, dry, but not-drafty spot for your pasta making.
- Break the eggs into the “crater” of the volcano, and stir them with a fork so that the yolks and whites mix before you begin to incorporate them into your flour.
- Start to incorporate the eggs and flour by slowly bringing more flour in from the inside edges of the “crater”. Continue mixing the flour with the eggs until the mixture comes together.
- Knead everything together for 10 minutes pushing it down with the heel of your hand, turning, stretching, folding, then smashing it down again. Kneading is necessary to work the gluten in the dough and make it more elastic.
Chef’s Tip: If you find the dough too hard, add a spoonful of warm water. If it’s a little sticky, add some of the flour you left aside at the beginning. Do not add any more flour than what you have reserved specifically for this purpose.
- Wrap the prepared dough in plastic wrap, and put it aside – in a dry place – to let it rest for at least 30 minutes, or up to 24 hours in the refrigerator. This step is particularly important if you are rolling your pasta by hand because it is necessary to relax the gluten in the dough. If you don’t let the gluten relax and try to roll it with a rolling pin you had better hope you have forearms like an Italian nonna (i.e., corded with thick muscles) because you’re going to have a hard time. However, if you have a pasta maker you don’t necessarily need to relax the dough, just be aware that the final product will be a bit stiffer.
- Sprinkle a little flour on your cutting board. Unwrap your dough, and push it down a little with the palm of the hand. At this point, you have two options: the rolling pin OR a pasta machine!
- If you opt for the rolling pin, sprinkle just a little bit of flour on the dough and start rolling the pin back and forth using light pressure until it reaches a thickness of 0.5mm.
Chef’s Tip: After about a minute a minute of rolling , roll the far edge of the dough around the pin, hold the opposite edge with your hand and roll the pin towards yourself. Then roll it back in order to “unfold” it. Once unfolded, rotate the dough 90° to the right and repeat.
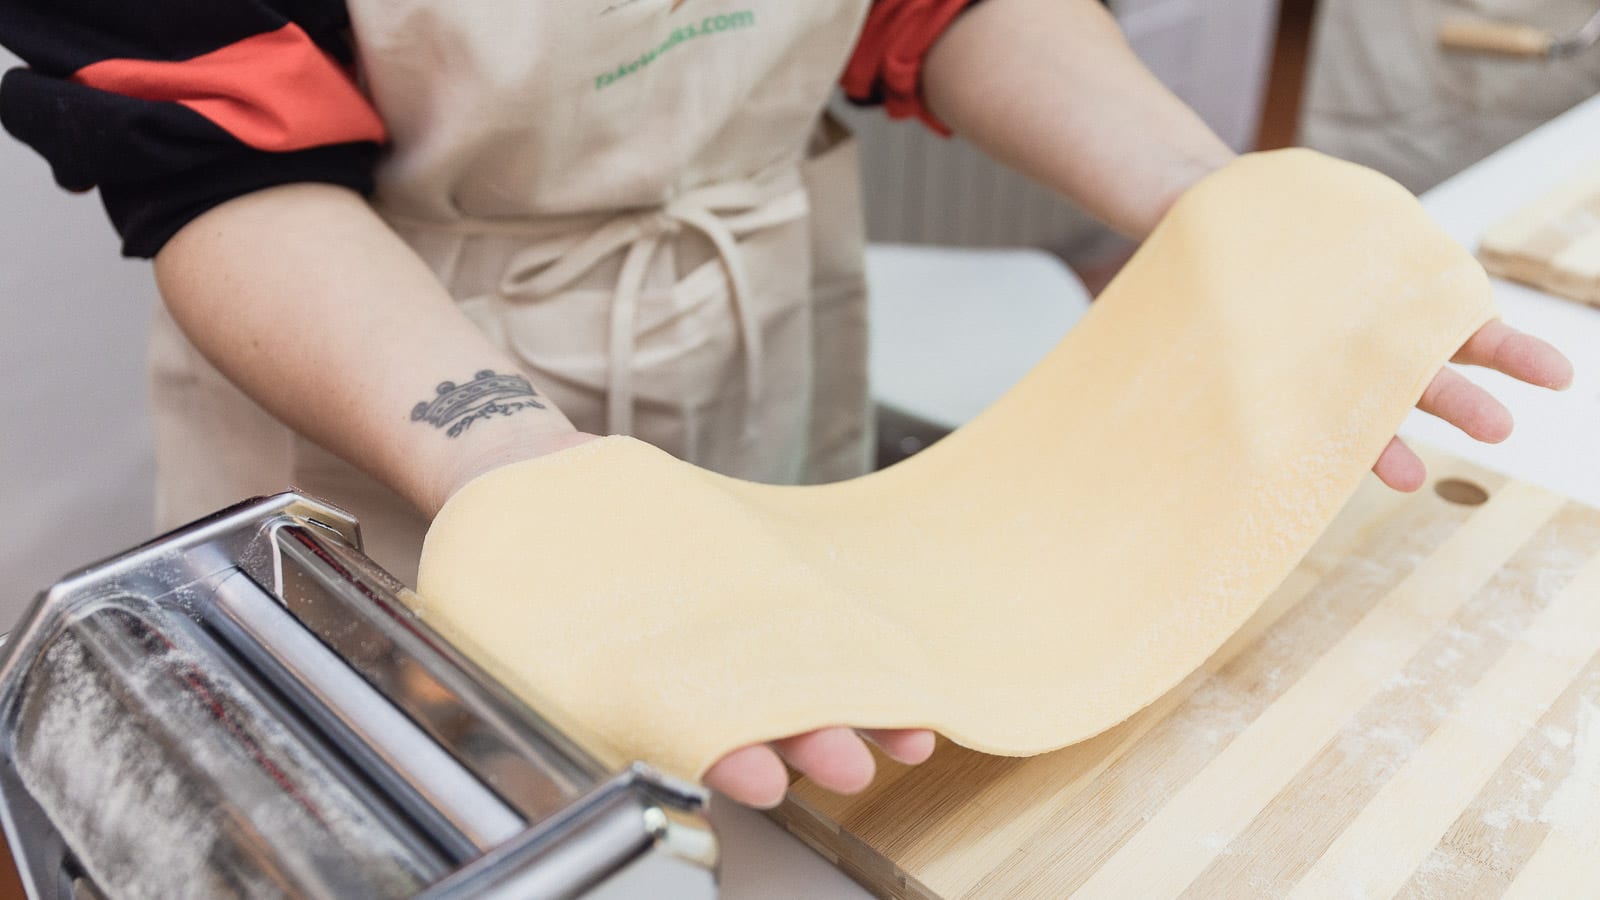
- If you have a pasta-making machine, cut the dough into quarters or (eighths, depending on the size of the machine) then flatten a quarter of the dough and sprinkle it with flour before feeding it into the machine. Begin with the highest thickness option – i.e, the widest setting. When you have rolled out one strip, fold it in half and pass it through again. Continue by reducing the width of the rolling slot, until you reach a thickness of approximately 0.5mm. Also remember that every time you make the width of the rolling slot shorter, you have to pass the dough through it twice, folding it in half for the second pass.
Chef’s Trick: Cover the strips you have just made with plastic wrap so you can stack new strips on top of them without sticking.
- Cut the big sheet of pasta or the strips of pasta into rectangles of about 20 cm x 14 cm (8 inches x 5 inches)and cook them in boiling water for 30 seconds. Dry them and set aside on clean kitchen towels.
2. Make your Ragù
- Heat a healthy glug of olive oil in a large pan or dutch oven while you peel the carrot and the onion. Wash and dry the celery. Cut the three of them into tiny pieces. and cook them over a low heat until they are soft (roughly 5 minutes).
- Turn the heat to medium-high and add the ground beef and ground pork. When the meat has browned and the liquid it releases has evaporated, add the white wine and stir. When the wine has evaporated, add the passata, salt, and pepper. Stir again to mix the ingredients and let them cook on a low heat for at least an hour.
Chef’s Tip: The longer a ragù cooks, the tastier it becomes. Our grandmothers would stew theirs literally all day – 12 hours or more. If you want to put this much time into your sauce remember to keep the heat as low as you can (and still have the occasional small bubble rising to the surface) and to stir from time to time. Tasting it is the best way to decide if the ragù is ready!
3. Make your Bechamel sauce
Put the ragù aside and get ready to make your bechamel, or as we say in Italy, “Besciamella” sauce.
- Warm the milk in a saucepan, but don’t let it boil.
- In a separate saucepan, cube the butter and melt it over low heat. As soon as it has liquefied take it off the heat and gradually whisk in the flour, making sure that no lumps form.
- Place the pan with the butter and flour mixture back on a low heat and add your warm milk, salt, nutmeg and ground pepper. Stir rapidly with the whisk until it thickens and becomes smooth.
Chef’s Tip: When making a bechamel sauce, don’t stop stirring until you have added and incorporated all of your ingredients – this will help you to keep lumps from forming
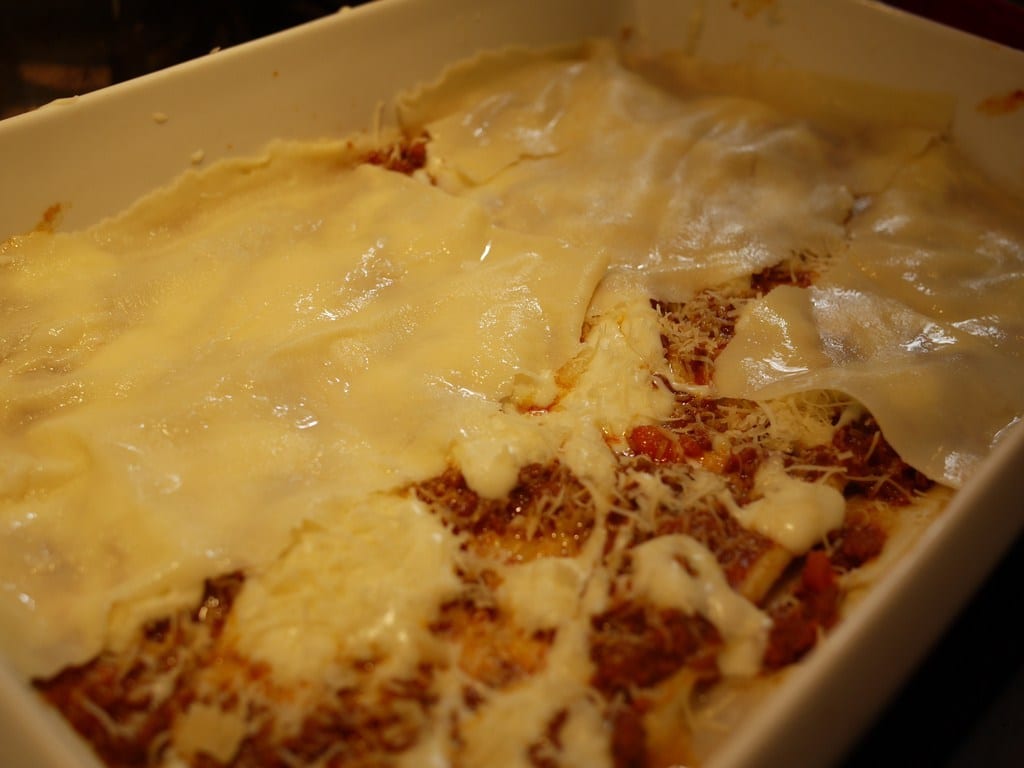
4. Time to put your lasagna layers together!
- Pour a fine layer of besciamella on the bottom of your casserole dish.
- Cover it with a layer of ragu.
- Place your pasta rectangles side-by-side on top of the ragu until you have covered it completely. Don’t allow them to overlap too much – you don’t want any double layers of pasta.
- Repeat the process in the same order as above until you reach 5 or 6 layers of pasta. On the very last layer of pasta place a slightly thicker layer of bechamel and ragù as it is the layer most exposed to the hot air of the oven and tends to dry up a little. Sprinkle some parmesan cheese on top, or between the layers if you like, but this is not a requirement.
Chef’s Tip: In order to ensure that a lasagna holds its shape after it is cut and plated, many Italians alternate the orientation of their pasta with each layer. So if you lay your first layer of pasta lengthwise, you will lay your second layer crosswise, alternating each time. Although this may seem pointless, it’s one of those nonna secrets and we swear by it.
5. Bake!
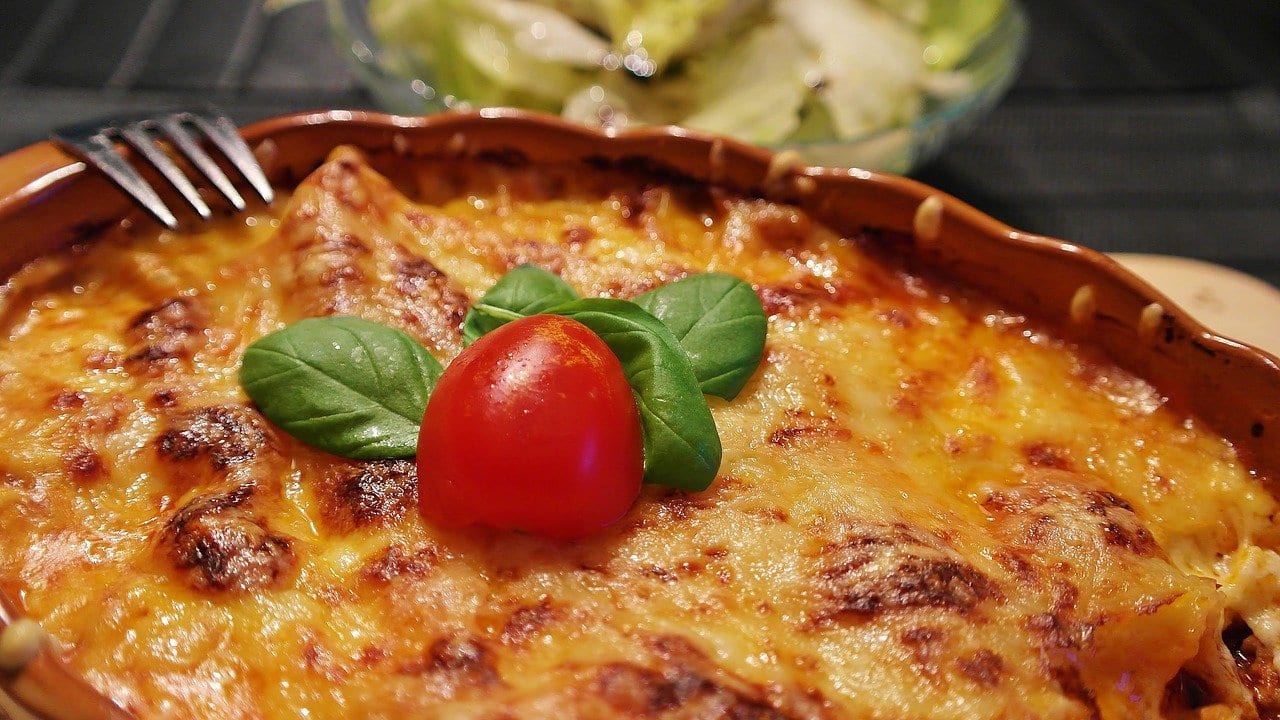
- Place the casserole in a pre-heated oven at 200° Celcius (390 Fahrenheit) for about 25 minutes. You will know the lasagna is ready when you can see a golden crust around the outside edges on the top layer.
- Let your gorgeous lasagna rest for a couple of minutes before cutting and serving. Enjoy!
Book a Tour

Pristine Sistine - The Chapel at its Best
€89
1794 reviews

Premium Colosseum Tour with Roman Forum Palatine Hill
€56
850 reviews
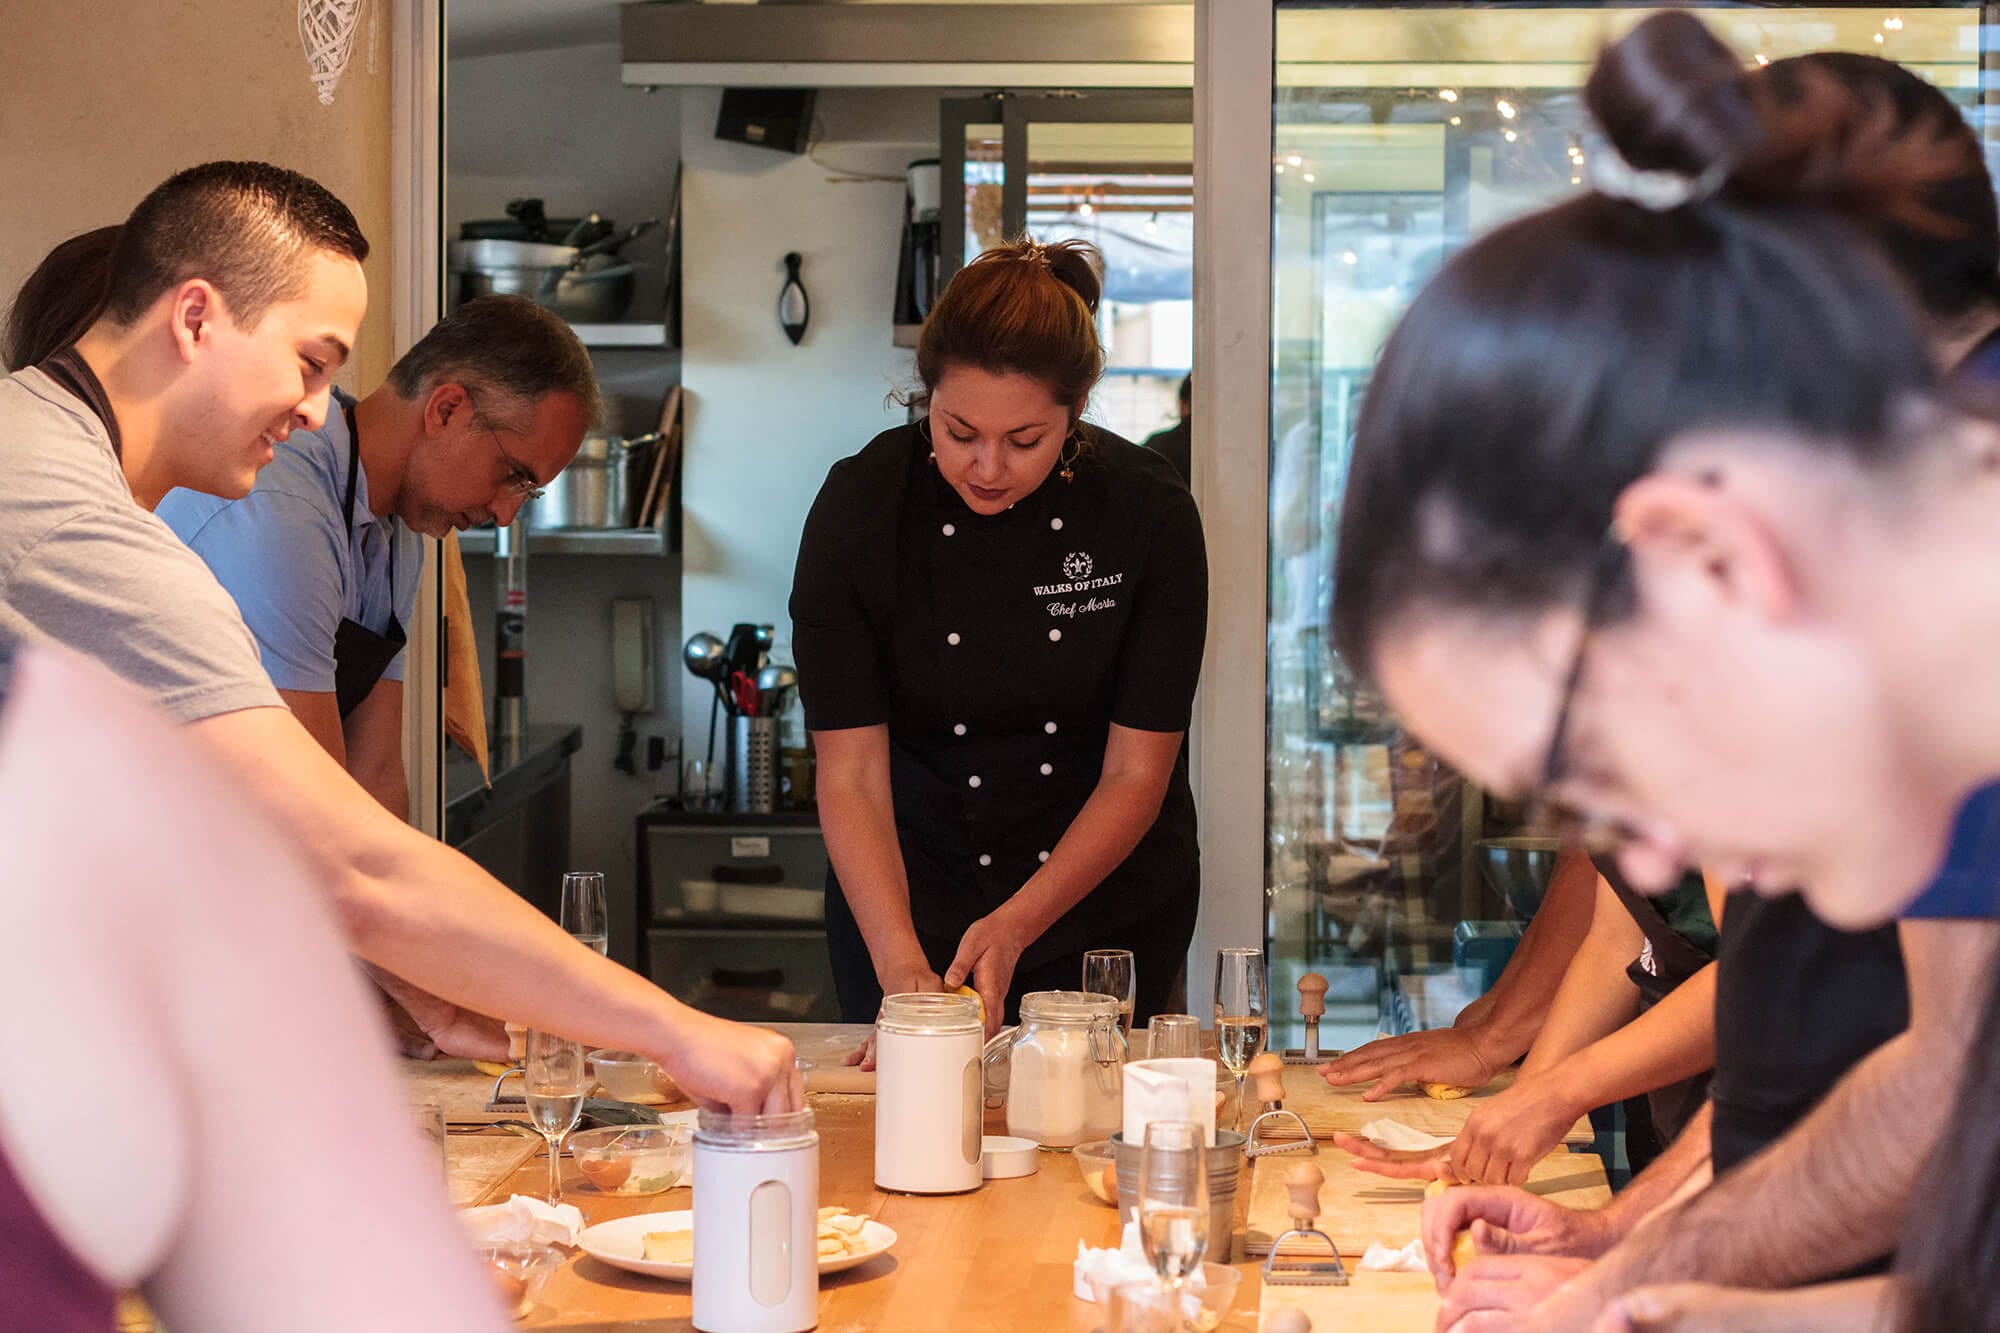
Pasta-Making Class: Cook, Dine Drink Wine with a Local Chef
€64
121 reviews

Crypts, Bones Catacombs: Underground Tour of Rome
€69
401 reviews

VIP Doge's Palace Secret Passages Tour
€79
18 reviews

Legendary Venice: St. Mark's Basilica, Terrace Doge's Palace
€69
286 reviews
You May Also Like


Follow us
Stay up to date with travel tips, local insights and all things Italy on our social channels!
Subscribe to our Newsletter
Get curated Italy travel tips delivered to your inbox!
